How to install eMIMS Classic on a Network Server (Client Server Mode)
Overview
A network server installation:
- Will install the eMIMS server component on a server and the eMIMS client component on each client PC. Each client PC must have access and create, read and write privileges to the folder location on the server where eMIMS server is installed.
- Simplify monthly updates because you only need to apply the update to the server.
- In the documentation on the disk, “workstation” refers to a client PC in Network Server mode.
- If you want to access eMIMS from the server you must also install the eMIMS client component on the server.
- You must purchase one copy for each client PC, including the server if you are accessing eMIMS on the server PC.
Steps
- Prepare the eMIMS Classic server image (install the server component)
- If you want to use eMIMS on the server PC then install the eMIMS client component on the network server.
- Install the eMIMS client component on each client PC.
1) Preparing the eMIMS Classic Server Image
- Decide which computer is to be your File Server Computer
- Insert the eMIMS Classic DVD in the Server DVD drive. If your Server does not have a DVD drive, you can carry out this procedure from another computer that does. Just choose the folder on the Server where eMIMS server is to be installed as the destination folder.
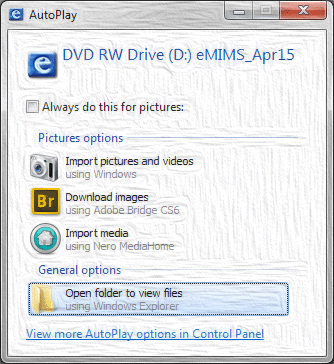
- On some systems, an Explorer window will open automatically showing the files and folders on the DVD.
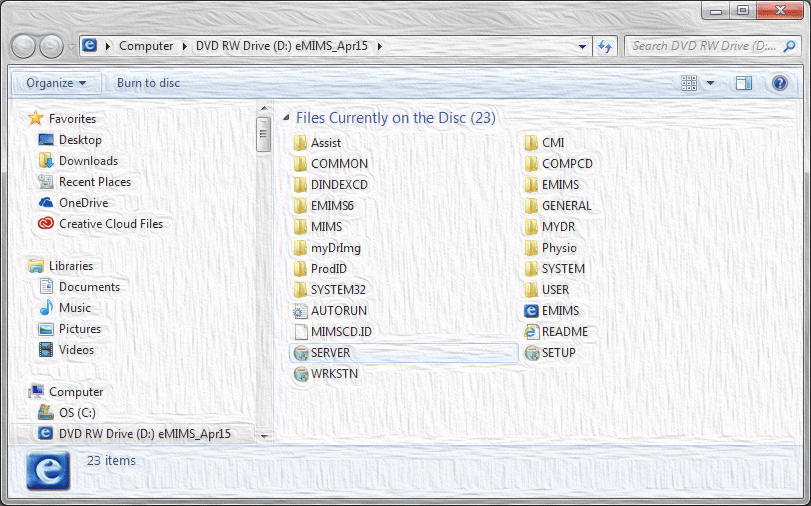
- On Windows 8, open the Search charm and enter “Computer” in the search box. Tap or click Computer and open the DVD folder.
- Run SERVER.exe. You may just see it as SERVER (once again depends on settings in Windows).
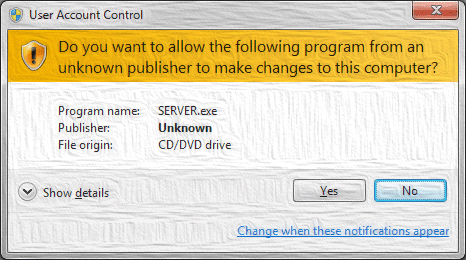
- You may see a User Account Control dialog asking for your explicit permission to run the program. Answer “Yes” to continue installing eMIMS Classic server
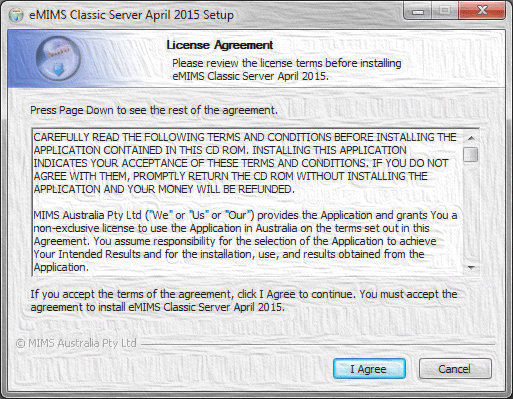
- The installer will show you the License Agreement. You must accept the terms of the License Agreement to use eMIMS Classic.
- Enter the Product registration details. The Full Name and CD Key are contained in the letter included with the DVD.
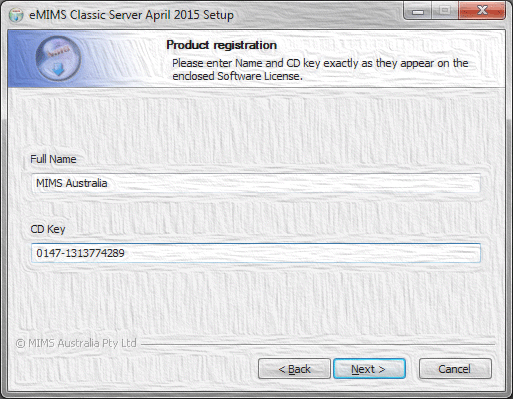
- When you enter the CD Key for the file server image, it is placed in a file within the image. This means that you do not need to enter it separately for the client PC installs.
- The CD Key is issue specific. Make sure that the details you have match the actual DVD issue date.
- Now you need to decide where you want to put the eMIMS Classic server image on the Server. The default destination folder is C:\EMIMS.
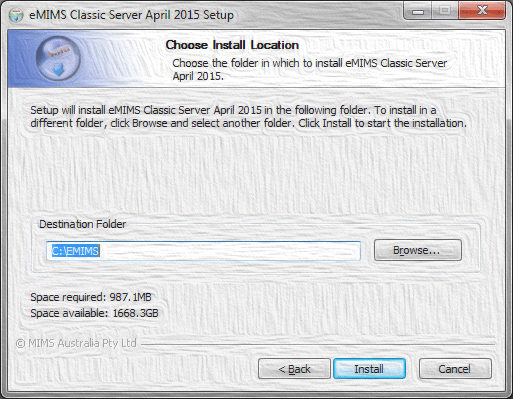
- Verify that the users who will be using eMIMS Classic have sufficient permissions for the EMIMS folder and all its subdirectories. As eMIMS Classic uses the Jet database engine, lock files need to be created for a number of the databases. This is done in the user’s security context. The user therefore needs to be able to Read, Write and Create in this location.
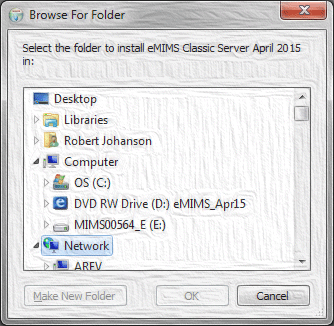
- You can use the Browse button to choose any valid location on your network.
- The installer will begin copying files from the eMIMS Classic DVD to the server image location.
- When the procedure is complete, remove the DVD – You are finished with that. Do not try to run eMIMS Classic yet. You need to install it on each client PC using the eMIMS Classic File Server Image (including the Network Server Computer if you want to access eMIMS Classic from there).
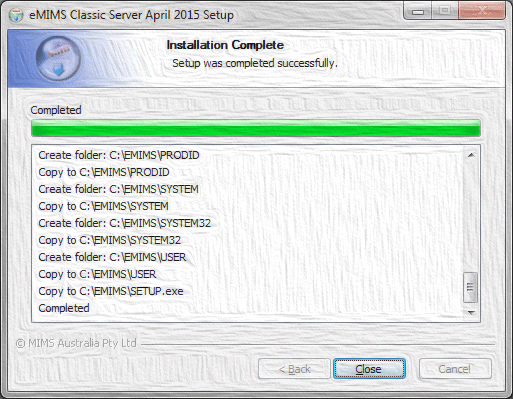
SERVER.exe does not put anything in the Server computer's registry, and does not install any system files on the Server computer. In the case of a full-blown file server, it is not appropriate for the program to run on the actual server (although it can if you want). In most small installations, you will probably want to access eMIMS Classic from this computer.
2) Installing the eMIMS Classic client on the network server (if you want to use eMIMS Classic on the server computer)
Access the eMIMS Classic server image
- Navigate to the location where you have just installed the eMIMS Classic Server Image. For the default:
- Double-click on My Computer (on the desktop). On some computers, My Computer is located in the Start menu.
- Double-click on the computer C: drive
- You should see a folder called EMIMS – double-click on this to open it
- You should see amongst the folders, SETUP.exe (remember, you may not see the exe extension)

- Double-click on SETUP.exe to run the program
- You may see a User Account Control dialog asking for your explicit permission to run the program. Answer “Yes” to continue installing eMIMS Classic workstation
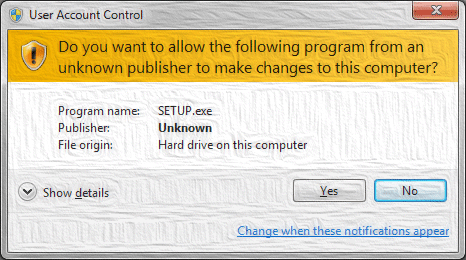
- The installer will show you the License Agreement. You must accept the terms of the License Agreement to use eMIMS Classic.
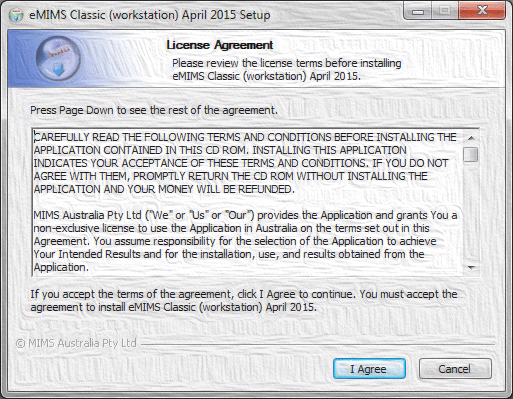
- Click “I Agree” and the Workstation Installation will quickly finish. This doesn’t take long – all it is doing is installing the necessary system files, copying a small number of files, adding some shortcuts and a few registry settings.
- In eMIMS Classic, you can see details of the installation by selecting Help; Installation Details:
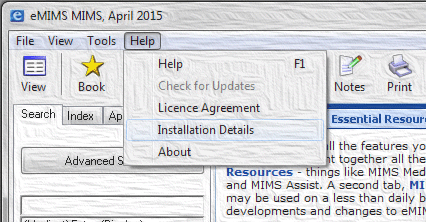
You can see in this example that eMIMS Classic is running in Network Mode, but the files are located on the local hard drive.

3) Installing eMIMS on each client PC
Access the eMIMS Classic Server Image from other PCs (clients)
- On each client PC, navigate to the location where you have just installed the eMIMS Classic Server Image.
- Either:
- Double-click on Network Neighborhood, or click on My Network Places in the Start menu.
- Double-click on the File Server Computer.
- Double-click on the share that contains the eMIMS Classic Server Image.
- Or:
- Double-click on My Computer (on the desktop). On some computers, My Computer is located in the Start menu.
- Double-click on the mapped drive that contains the eMIMS Classic Server Image.
- Either:
- However you get there, you should eventually see a folder called EMIMS – double-click on this to open it
- You should see amongst the folders, SETUP.exe (remember, you may not see the exe extension)
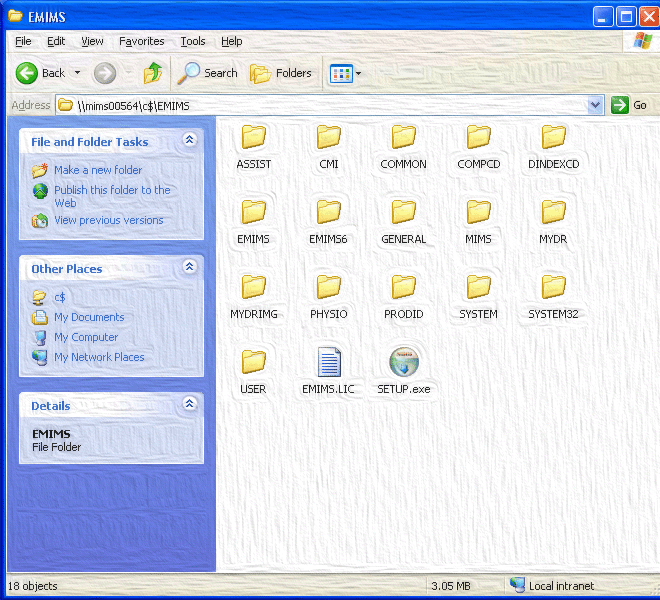
- Double-click on SETUP.exe to run the program
- You may see a User Account Control dialog asking for your explicit permission to run the program. Answer “Yes” to continue installing eMIMS Classic server
- The installer will show you the License Agreement. You must accept the terms of the License Agreement to use eMIMS Classic.

- We don’t assume the workstation install is being carried out by the same person who installed the eMIMS Classic Server image, but ask for your understanding if you are!
- Click “I Agree” and the Workstation Installation will quickly finish.
- This doesn’t take long – all it is doing is installing the necessary system files, copying a small number of files, adding some shortcuts and a few registry settings.
- In eMIMS Classic, you can see details of the installation by selecting Help; Installation Details. You can see in this example that eMIMS Classic is running in Network Mode, and the files are located on the File Server computer which is somewhere else on the network:

4) Updating the eMIMS Classic Server Image
A DVD Update of eMIMS Classic is applied by simply updating the server image from the new DVD. Simply run SERVER.exe on the File Server Computer exactly as you did for the previous issue.
You need to be sure that no users are currently running eMIMS. SERVER.exe will not proceed if they are – it cannot replace files that are in use.
You need to be absolutely certain that you are placing the files in the same location. If the computer you are running SERVER.exe on is also an eMIMS Classic client PC, the correct location will be chosen by default.
So long as the server image remains in the same location and there are no system file updates, all the workstations previously connected should just work without any further action.
Running SERVER.exe on a computer that already has a standalone eMIMS Classic installation
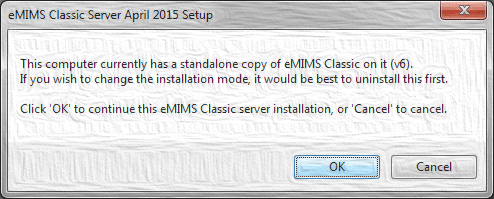
SERVER.exe will detect that a standalone copy of eMIMS Classic is already on the computer, and give a warning.
This does not stop you from continuing – there may be a good reason why you are doing that. However, it could mean you are unsure of the correct installer to run (SETUP.exe or SERVER.exe).

